Create a New Virtual Network
This tutorial will guide you through the process of adding a network in the Mecha Console, whether you choose to use a managed encryption key or provide your own.
Step 1: Visit the Networking Page
1. Navigate to Networking:
- From the top main menu in the Mecha Console, select Networking to access the networking page.
Step 2: Add a New Network
1. Click on Add Network:
- On the networking page, click Add Network to start the process of creating a new network.
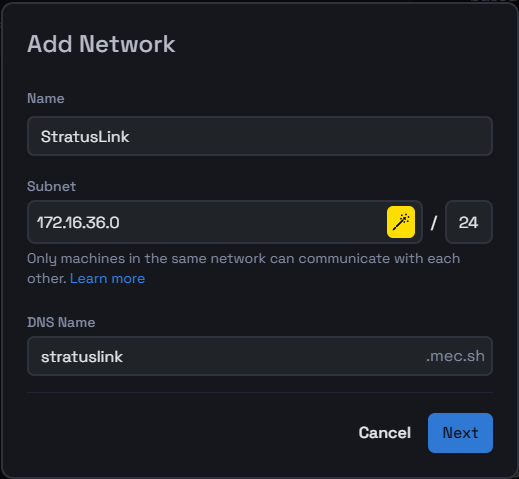
2. Fill in the Network Details:
- Name: Enter a unique name for your network.
- Subnet: You can either generate a subnet using the yellow icon or enter a custom subnet.
- DNS Name: Specify the DNS name for the network.
After entering these details, click Next to proceed.
Step 3: Set Encryption Method
1. Choose an Encryption Method:
- Managed by Mecha:
- The encryption key is automatically generated and securely stored in an encrypted key store managed by Mecha.
- Bring Your Own Key (BYOK):
- You have the option to provide your own encryption key. This key is not stored in Mecha's storage.
- Enter or Generate a Key: Specify an encryption key of 32 characters or generate one using the provided tool.
- Note: You will need to re-enter this key every time you add a new node to this network.

2. Save the Network:
- Once you've configured the encryption method, click Save.
- Your new network will be created, and you will be automatically redirected to its details page.
You've successfully added a new network to your Mecha Console. This network is now ready to be utilized by your devices and applications.